A storyboard is an important part of the animation process. It outlines the scenes that the directors will use in an animated video. It’s a visual representation of what will happen in a particular shot.
In this article, we will break down the storyboarding process and stress why it’s important in animation projects. If you’re an aspiring storyboard artist, this piece is for you.
All About the Animation Storyboard
The animation storyboard is the blueprint for the final animation. These illustrations contain the breakdown of the scene down to the last second. It gives the look, feel, and flow of the whole animation. A storyboard animation outlines how the key moments and key scenes would look on screen.
There are three kinds of storyboards:
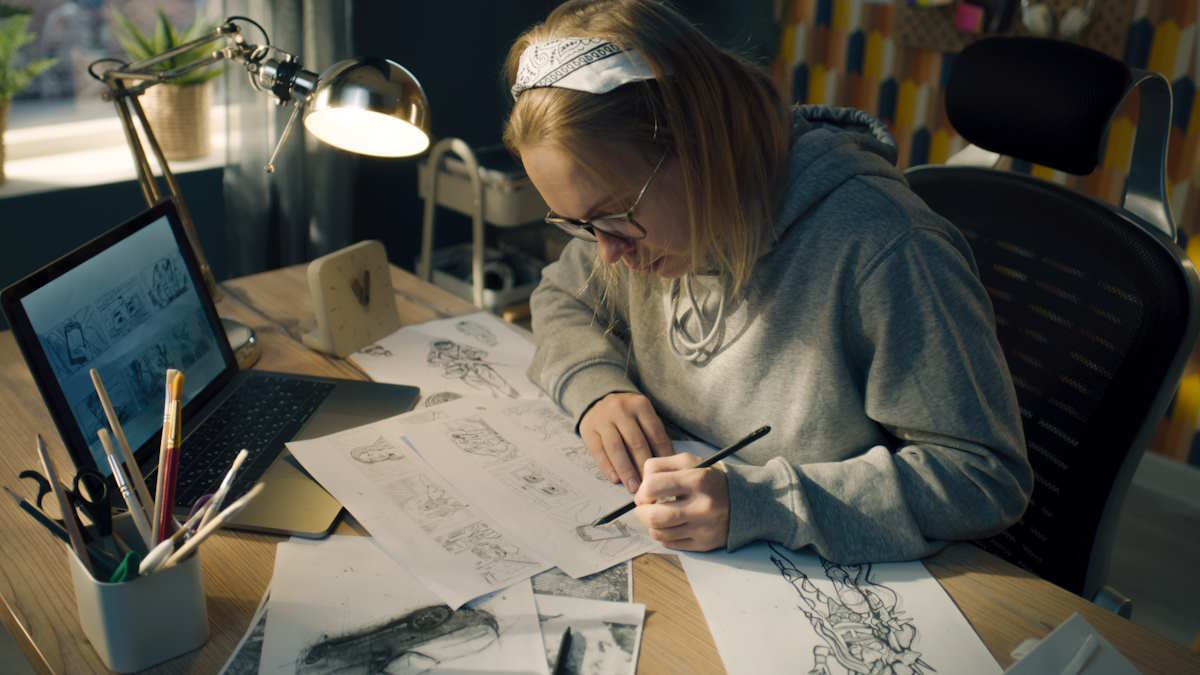
- Traditional storyboard. It uses a pencil to draw a rough sketch. The storyboard panels are drawn on paper.
- Thumbnail storyboard. This is the kind of storyboard that doesn’t have a dialogue. It’s used to illustrate action sequences.
- Digital storyboard. It uses storyboard software and digital tools to create each panel.
Each finished storyboard is reviewed before the animation studio gives it a green light. Most of the time, creating storyboards is a collaborative process by the whole team to ensure that everyone is on the same page.
Why Is a Storyboard Important in Animation
The storyboard is a crucial tool in the pre-production and production process. The editors still use the storyboard in the post-production process to guide video editing.
It’s important for the following reasons:
- It brings the narrative to life. After the script is done, the artist will decide what the final product looks like. They will indicate the character movements, camera angles, and camera movements to use.
- It builds the world of the project. Storyboard artists have the power to make sure that the world the characters live in is believable. Every single element has to be carefully animated to ensure that the story is still grounded in reality.
- It allows understanding of the characters. Storyboards dissect the scene to the tiniest detail. Conveying the emotions, actions, and motivations of the characters as the story progresses lies in the hands of the artists. They can also relate to how a certain character thinks and feels within the story.
Create Your Own Storyboard
Here’s how you can make a storyboard from the ground up, whether with paper or with a storyboard template:
1. Start with a rough sketch
On an empty piece of paper or a file in your software, draw outlines and sketches of how you want your scene to look. Never mind if it’s just random lines—refine them later when you’re done with it. Your rough sketch is your outline for the entire storyboard.
2. Put captions and descriptions
Writing captions in your panels gives notes and adds context to what’s happening. Always make sure that the writing is concise. You can add dialogue if you want to make the story more convincing. These captions will help you bring more life into the story.
3. Indicate camera angles and movements
Animation without movement is just plain boring. You need to incorporate camera movements and angles to get some action going. It also gives depth to the storytelling goals you have in mind.
Indicate when the camera should zoom, pan, or tilt in each panel. Use different camera angles as much as possible to convey the story even better.
4. Practice proper placing
Place the characters and elements well within the frame to balance out the whole picture. Dabble with the rule of thirds or perspectives to create a visually stunning shot.
5. Convey actions and emotions
Draw the proper actions and emotions in your characters wherever they’re appropriate. Include poses to clearly indicate that there is action happening. Facial expressions, body language, and gestures of characters add more depth to your sketches. Indicate sound effects as well to give more life to your story.
6. Keep it logical
As you work on your storyboard, you should keep the story logically organized and still rooted in reality. This helps in ensuring a good flow of the whole board.
7. Finalize
Make the finishing touches on your animated storyboard and let your team see it. Take note of each of their feedback and apply it in the revision. You may need to revise your storyboard a few times, depending on what needs to be done.
Here’s where a video production company can be your animation ally:
- Experienced storyboard artists. Production companies often have storyboard artists on board who can translate your ideas into professional-looking panels, elevating your vision to the next level.
- Software expertise. They may utilize specialized storyboarding software that allows for easy collaboration, version control, and integration with other animation tools.
- Feedback and collaboration. They can provide valuable feedback on your storyboard, suggesting improvements in pacing, composition, and clarity. This collaborative approach ensures your animation stays on track and resonates with your target audience.
Conclusion
Your storyboard is the visual guide that’s an important part of the creative process of any animation production.Creating one for your animation project means long hours of work, revision, and sharp attention to detail. Just put your extra effort into making a storyboard and crafting a good story.
With dedication, a touch of creativity, and the potential support of a video production company like Dream Engine, you can transform your animation dreams into reality. So, grab your pen, unleash your imagination, and start storyboarding your masterpiece!