
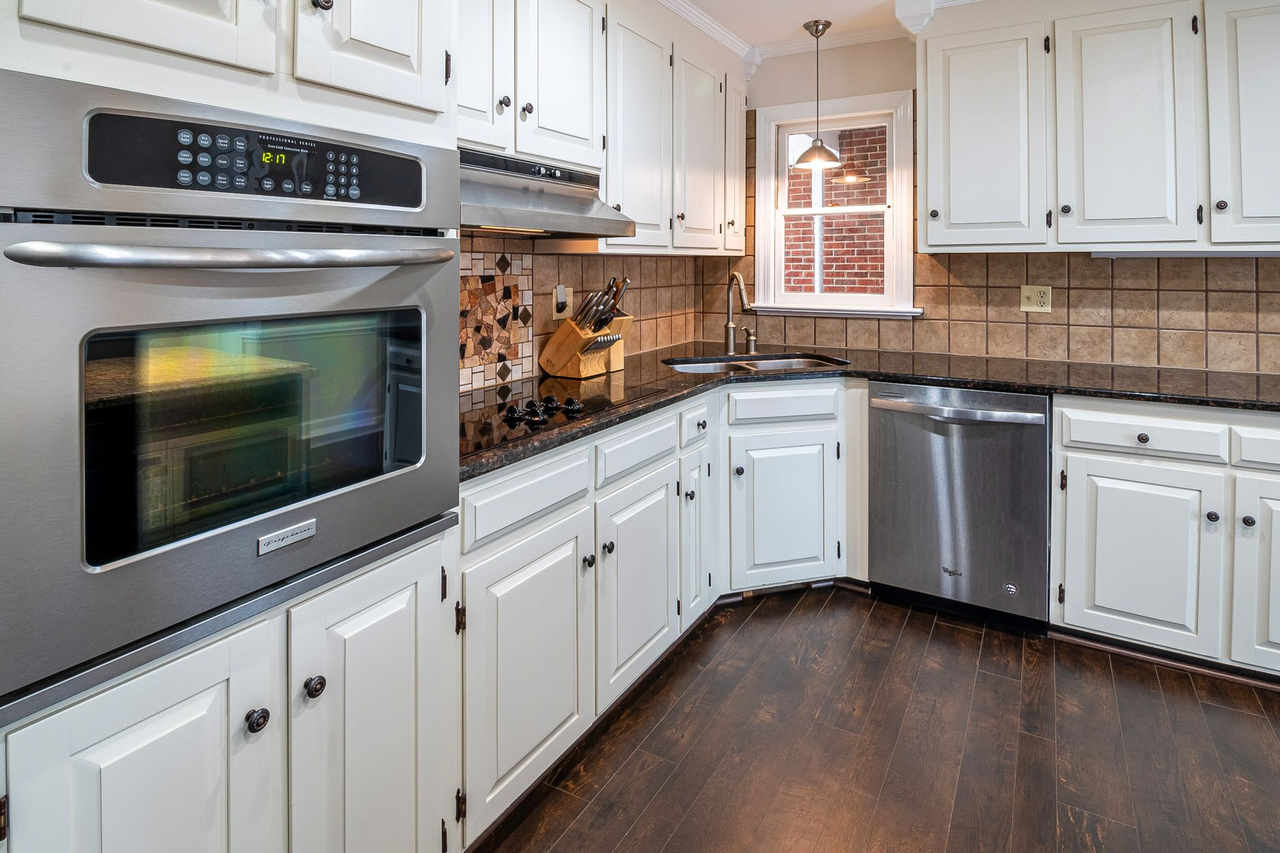
Installing new ready-to-assemble cabinets can transform a kitchen without the cost of custom cabinetry. The finished result depends on careful assembly, accurate measurements, and proper leveling.
I’m Joy Gebarah, owner of Kernvestors, and I have flipped more than 100 homes. Cabinet installation may look straightforward, but small mistakes at the beginning can create noticeable problems later. A cabinet that is slightly out of level can affect countertops, doors, drawers, backsplash, and appliances.
Prepare the Kitchen Before Installation
Before assembling anything, remove the old cabinets and inspect the walls and flooring. Check for plumbing leaks, damaged drywall, uneven floors, or electrical issues. It is easier to make repairs while the room is empty.
Next, compare the cabinet boxes with your kitchen layout. Confirm cabinet sizes, door styles, filler pieces, finished panels, and hardware before installation begins. Lay the cabinets out in the order they will be installed and label them if necessary.
Assemble the Cabinet Boxes
When assembling cabinets, work on a flat, protected surface. Follow the manufacturer’s instructions and use wood glue where recommended. Tighten screws securely, but avoid overtightening because particleboard or plywood can split or strip.
Install the Upper Cabinets First
Upper cabinets are usually installed before the base cabinets. This provides more room to work without leaning over lower cabinets. Mark the wall studs and draw a level reference line around the room. Cabinets should always be attached to studs or structural backing, not drywall alone.
Level and Secure Each Cabinet
Start with a corner cabinet or the cabinet positioned at the highest point of the floor. Use shims behind and underneath it until it is level and plumb. Secure it to the wall, then clamp the next cabinet to it. Make sure the cabinet faces are flush before fastening the boxes together.
Install and Level the Base Cabinets
Base cabinets require the same careful process. Check the level from side to side and front to back. Do not assume the floor is level, especially in older homes. Shims can correct uneven areas and create a stable surface for countertops.
Complete the Finishing Touches
Once all cabinets are secured, install filler strips, toe kicks, finished side panels, doors, drawers, and handles. Adjust the hinges so doors have even gaps and open smoothly. Many modern hinges include adjustment screws that move doors up, down, left, right, inward, or outward.
When New Cabinets Are Worth the Investment
Kernvestors buys houses in Bakersfield and other cities in California, so we frequently see kitchens in every condition imaginable. When we buy houses in Bakersfield, cabinets are often among the first features we evaluate because they affect appearance and everyday functionality.
As a company that specializes in buying houses in Bakersfield, CA, we know homeowners do not always want to complete a full renovation. Sometimes cabinet installation is worthwhile, while other situations call for a simpler repair or selling the property as-is.
Final Thoughts
For homeowners looking for an option that helps sell a house fast in Santa Maria, CA, Taft, or Bakersfield, consider whether the cost and effort of installing new cabinets will provide a reasonable return. Take your time and recheck every measurement before drilling. Accurate measurements, patience, and careful leveling make the biggest difference between an average result and a professional-looking kitchen.

Owner of Kernvestors